How to create a wrapped spring in Solid Edge
By John Pearson
CAD/CAM/CAE CAD Design Fusion Siemens PLM software Solid Edge tutorialIn this step-by-step tutorial, Design Fusion trainer, John Pearson, shows how to master the Sweep command in Solid Edge.
Many CAD users will be familiar with the sweep command but putting into practice can present challenges, especially when the new geometry has to fit or interact with existing parts. The following tutorial looks at how to create a helical part, in this case a spring, that wraps a cylinder.
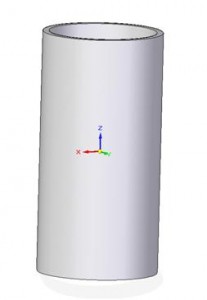
The first step is to create the part that you wish to wrap the spring about. In this case it’s a pipe.
Open a new assembly and insert the pipe into the assembly. Save the assembly, and launch the Create Part In-Place command.
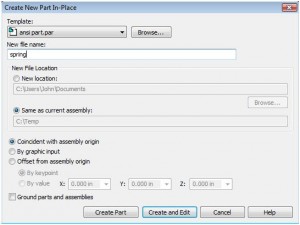
This will launch the following dialog. Select the appropriate template and give the spring part a name and a location.
Select Create and Edit to enter into the spring part. (Note: in versions older than ST2 you just have to select OK)
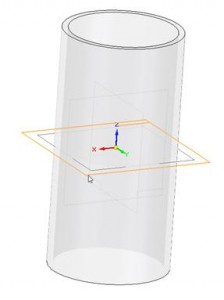
Create a sketch on a plane representing the spring position. In other words, select a plane that represents the middle of the spring when wrapped around the pipe.
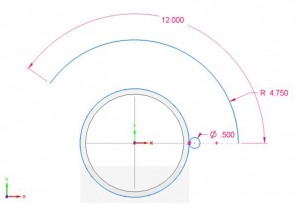
Create the following sketch.
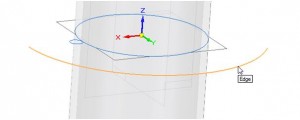
Note: The outer arc represents the center axis of the spring, and the small 0.500 diameter circle represents the diameter of the spring wire.
Select the sweep command.
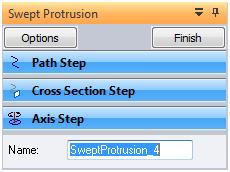
Fill in the Sweep Options dialog as shown below, and click OK.
For the Path Step select the outer arc and accept it.
For the Cross Section Step select the 0.500 diameter circle. (Note: you may have to change the Select filter to single, on the command bar.)
As soon as you select the circle you will receive the following error.
This is expected because the circle lies on the same plane as the drive curve. This, if processed, would create a swept surface, not a solid.
Select the Edit button. On the command bar select the Options button.
On the Sweep Options dialog, change the Twist option from None to Number of turns and enter in the number you want. (Note: you could also use the Turns per length option, if so desired.)
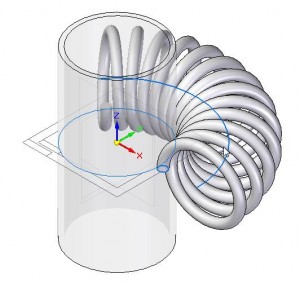
This results in a wrapped spring.
 John Pearson is a Senior Technical Trainer and Application Specialist at Designfusion. He has over 24 years’ experience in the CAD/CAM industry, is a Certified Adult Trainer and has taught evening CAD courses at colleges in Ontario. He is also a major contributor of articles on the Design Fusion blog.

